

RV Restoration: What to Clean, Repair and Protect
- STAVROS KASVIKIS
- 4 minutes ago
- 6 min read
A good RV restoration does more than make an older motorhome or trailer look better in photos. It makes the space more comfortable to use, helps prevent small issues from becoming expensive repairs, and protects the value of a vehicle built to carry years of memories. For Calgary RV owners, that work often starts after a long winter, a dusty storage season, or a summer of family road trips.
The right approach depends on the RV’s condition. A unit with a sound roof, dry interior, and tired upholstery may need a thorough detail and targeted cosmetic refresh. One with water staining, soft flooring, cracked sealant, or damaged exterior panels needs repair work before any polishing or protection. Knowing the difference saves time, money, and frustration.
Start RV restoration with a condition check
Before buying cleaners, removing cushions, or booking a service, walk through the RV slowly and inspect it from top to bottom. Look for moisture first. Water is the issue that can turn a manageable restoration into a major rebuild.
Inside, check ceiling corners, windows, skylights, roof vents, cabinets, and the area around plumbing fixtures. Watch for brown stains, bubbling wall panels, musty odours, soft spots, peeling vinyl, or swollen wood. Outside, inspect roof seams, window seals, marker lights, awning mounts, storage-compartment doors, and caulking around fixtures. A clean-looking RV can still have a leak hidden behind a cabinet wall.
Also test the systems you rely on while travelling. Turn on the water pump, run the taps, test lights, check the battery, examine tire condition, and operate slides, steps, awnings, and jacks if equipped. Cleaning an RV before confirming its basic condition is fine, but cosmetic work should not distract from a roof leak or a failing seal.
If there is evidence of active water intrusion, arrange repair before deep interior cleaning or surface protection. Detailing can remove staining and odours, but it cannot stop the source of moisture.
Restore the interior where you spend your time
An RV interior collects a different kind of dirt than a daily driver. There is campground dust, cooking residue, sunscreen, pet hair, spilled drinks, damp towels, and grime tracked in from gravel pads. Because the space is compact, even minor odours or stained seating can make the whole unit feel neglected.
Start with a complete removal of loose items. Empty cupboards, storage bins, fridge compartments, and under-seat areas so crumbs, dust, and forgotten supplies do not stay trapped in place. Vacuum carpets, entry steps, upholstery seams, mattress edges, vents, and window tracks. These small areas make a noticeable difference when the RV has been stored.
Hard surfaces need products suited to their materials. Many RVs combine vinyl, laminate, plastic, painted cabinetry, stainless steel, and delicate control panels in a very small area. Harsh degreasers or abrasive pads can dull finishes, strip printed labels, or leave residue that attracts more dust. Use a gentle interior cleaner for routine soil, then treat stubborn kitchen grease or bathroom buildup with the appropriate product and a soft detailing brush.
Upholstery deserves careful attention. Fabric seats and dinettes can often be shampooed or extracted, while leather and vinyl should be cleaned with a material-safe product and conditioned where appropriate. Avoid soaking foam cushions. Too much moisture can create a lingering smell and may lead to mould if the cushions cannot dry fully.
For odours, clean the source rather than masking it. Pet odours, smoke, mildew, and old food smells may require deep cleaning of fabrics, carpets, mattresses, and hidden storage areas. If the RV smells musty after cleaning, revisit the moisture inspection. Fragrance is not a fix for a leak.
When interior replacement makes more sense
Not every aged surface needs to be saved. Cracked vinyl flooring, badly stained carpet, brittle window coverings, or cushions with broken foam can be more practical to replace than restore. Prioritize items that affect comfort and daily use first. New flooring will not solve a roof issue, but it can make an otherwise solid RV feel dramatically newer.
Keep the replacement plan realistic. Heavy residential materials can add unnecessary weight, while poorly chosen flooring may not handle temperature swings and movement on the road. RV-specific or lightweight materials are usually the better investment.
Bring back the exterior without damaging it
The exterior is your RV’s first defence against sun, road film, bugs, tree sap, rain, and Alberta’s changing weather. It is also made from materials that need different treatment: gel coat, painted metal, decals, fiberglass, plastic trim, rubber roofing, acrylic windows, and polished accessories.
Begin with a proper wash to remove loose grit before touching the surface with a mitt or towel. Skipping this step can grind dirt into paint, gel coat, and decals. Work from the roofline down, using products that are suitable for the material being cleaned. Roof cleaning is especially important because runoff carries accumulated grime down the sidewalls.
Oxidation is common on older fiberglass RVs. It can leave the exterior looking chalky or faded, particularly on the front cap and sun-exposed sides. Light oxidation may respond well to a professional polish and protectant. Heavy oxidation, failing clear coat, or deteriorating decals may require more involved correction or replacement. The goal is not to make every older RV look factory-new. It is to improve appearance safely without thinning paint or causing further damage.
Avoid household pressure washing at close range around seals, vents, decals, window edges, and storage doors. High pressure can force water past weak sealant. A controlled hand wash or professional mobile service is safer for many RVs, particularly those with older caulking.
Protect the surfaces that cost the most to replace
Restoration is most worthwhile when it is followed by protection. Once the interior is clean and the exterior has been corrected, protect the materials from the next season of use.
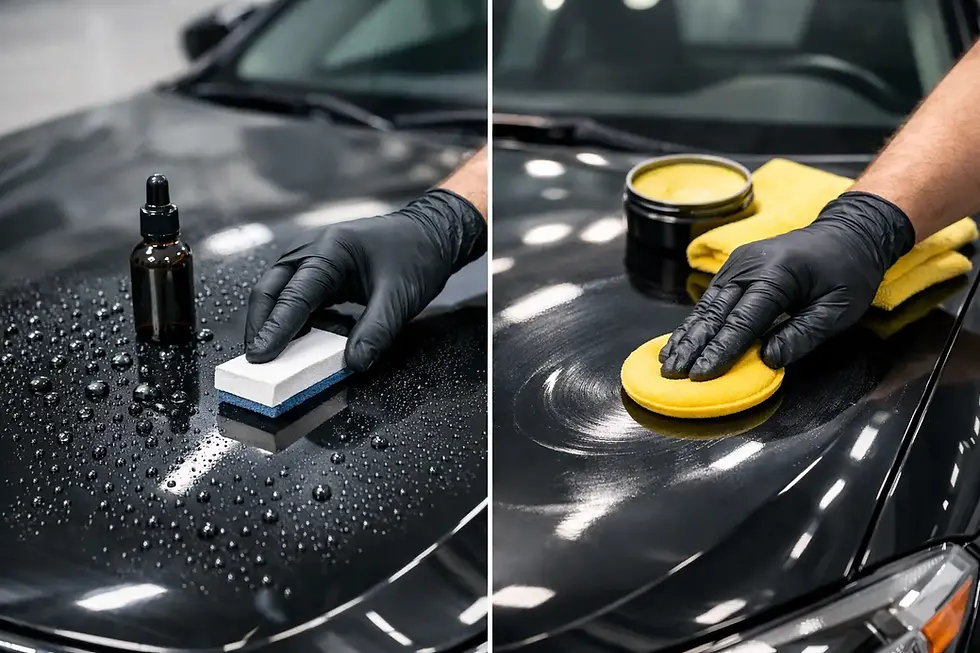
A quality exterior protectant can help preserve gloss and make future washing easier. Ceramic coating may be a practical option for suitable painted or gel-coat surfaces when the RV is in good condition and has been properly prepared. It can add durable water behaviour and help reduce the effort required to remove road film and bugs. It does not repair cracks, stop leaks, or eliminate the need for washing.
Window tinting or windshield film may also be worth considering depending on the RV and how it is used. Reducing glare and heat can improve comfort on long summer drives, but film selection needs to comply with applicable regulations and suit the glass type. For high-wear exterior areas, paint protection film can help defend against stone chips and abrasion, though coverage choices should reflect the RV’s shape, budget, and travel habits.
Do not forget seals. Inspecting and maintaining roof, window, and compartment seals should be part of every restoration plan. This is less exciting than polished paint, but it is often the work that protects the entire investment.
Choose between a refresh and a full restoration
A refresh is ideal when the RV is mechanically sound and mostly needs deep cleaning, odour removal, stain treatment, exterior washing, polishing, and protection. It is often the best route before a camping season, after purchasing a clean used RV, or before listing one for sale.
A full restoration is more appropriate when there are water-damaged materials, structural concerns, major cosmetic deterioration, or systems that need repair. In that case, start with repair professionals and complete cosmetic detailing after the work is finished. Cleaning before demolition or leak repair can mean paying twice.
For owners short on time, mobile RV detailing can handle the large-scale cleaning work at home or at a convenient location, without adding another drive across the city to the pre-trip checklist. Elegance Motor Calgary LTD can help restore the clean, cared-for appearance of RV interiors and exteriors while you focus on repairs, packing, and planning the route.
Keep the restored RV looking cared for
The easiest RV restoration to manage is the one you do not have to repeat from scratch. After each trip, remove food, wipe kitchen and bathroom surfaces, shake out mats, and clear loose dirt from the entry. A quick rinse of bugs and road film after a highway run is easier on the finish than letting it bake on for weeks.
Before storage, clean and dry the interior thoroughly, leave no damp fabrics behind, inspect seals, and use ventilation appropriately for the conditions. Check the RV periodically through the off-season, especially after heavy weather changes. A ten-minute inspection can catch a drip before it reaches flooring or cabinetry.
Treat restoration as a practical reset, not a one-time makeover. Start with moisture and safety, clean the spaces your family uses most, protect the exterior, and maintain the small details between trips. Your next departure will feel less like preparing an old RV and more like opening the door to a ready-to-go getaway.


Comments