
Top RV Exterior Care Tips for Calgary Owners
A clean RV can still hide the problems that lead to costly repairs: a drying roof seal, grit trapped around window frames, oxidation on the front cap, or water sitting in a slide-out channel. These top RV exterior care tips focus on the surfaces that take the hardest hit from Calgary sun, road dust, sudden rain, hail, and long winter storage.
Top RV Exterior Care Tips That Prevent Expensive Repairs
Start with a gentle, thorough wash
Regular washing does more than improve curb appeal. It removes abrasive dirt, bug residue, tree sap, road film, and mineral deposits before they can dull paint, stain fiberglass, or wear at seals. For most actively used RVs, a wash every four to six weeks during the travel season is sensible. Wash sooner after a dusty highway drive, a campground stay under trees, or a trip through rain and construction debris.
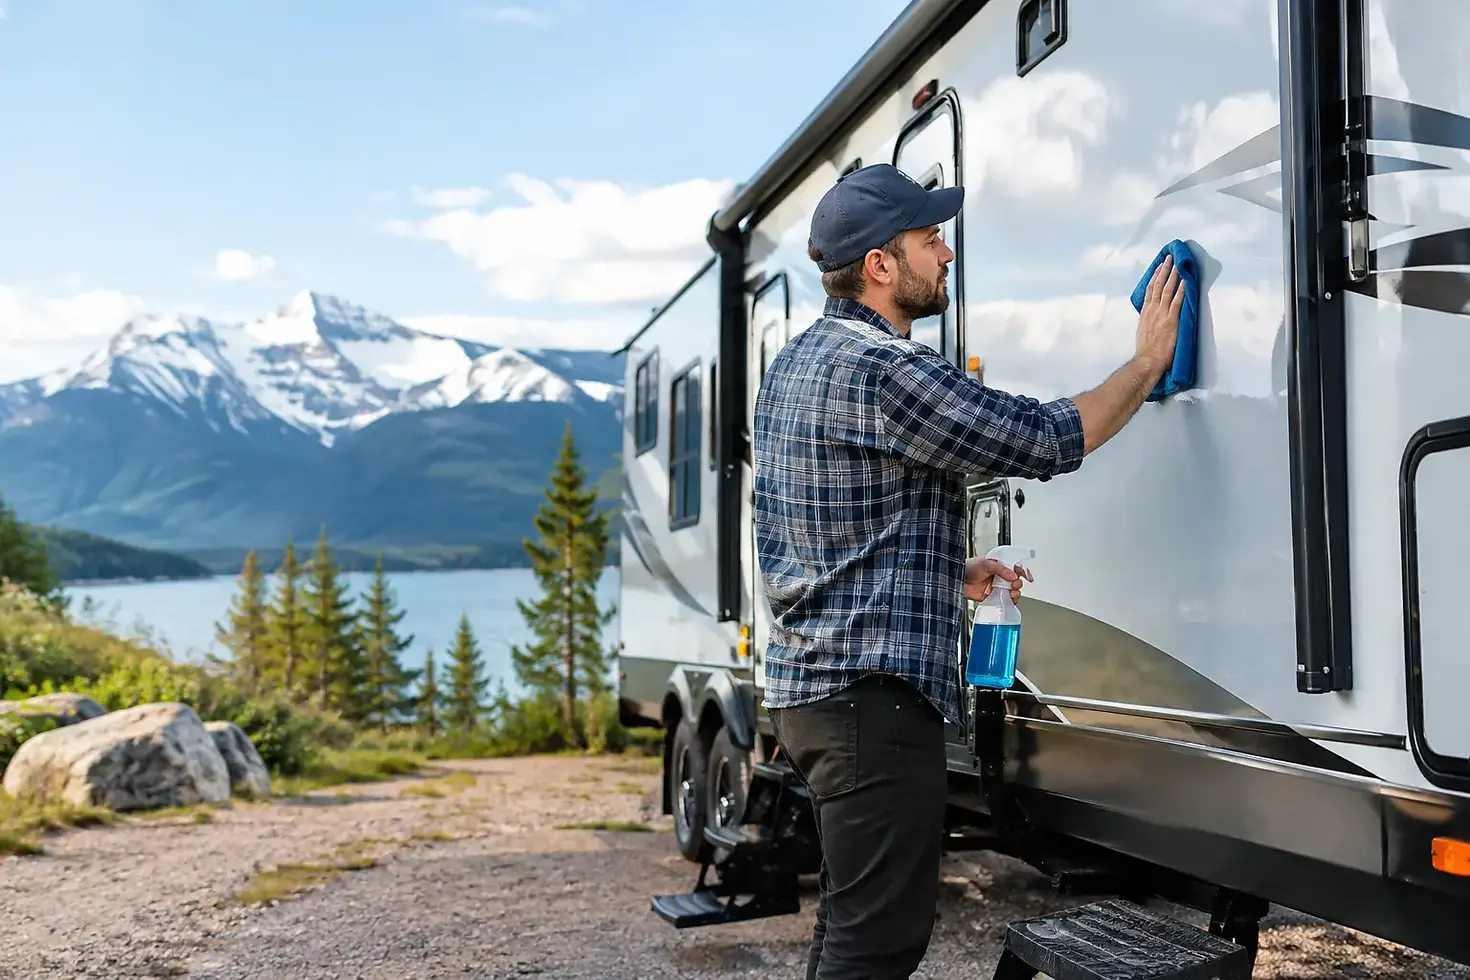
Use a pH-balanced vehicle wash and a soft microfiber mitt or brush made for RV exteriors. Work from the roofline downward, rinsing each section before soap dries. The surface area of a motorhome or trailer makes it tempting to rush, but dried soap can leave marks, especially on dark paint and glossy fiberglass.
High-pressure washers can be useful, but only with care. Keep the nozzle moving and stand back from decals, roof edges, window seals, vent covers, slide-out seals, and caulking. A direct blast can push water behind a compromised seal or lift a loose decal. A lower-pressure rinse and a proper wash solution are usually the safer choice.
Treat the roof as a maintenance priority
Your RV roof is not a set-it-and-forget-it surface. Whether it is EPDM, TPO, fiberglass, aluminum, or another material, it needs cleaning and inspection several times a year. Dirt and organic debris retain moisture, while branches and low-clearance areas can create damage that is easy to miss from the ground.
Check the manufacturer’s care guidance before choosing a cleaner. Some household cleaners, petroleum-based products, abrasive pads, and solvent-heavy treatments can harm rubber roofing or leave a residue that affects future sealant work. Use a cleaner designed for your specific roof material, and rinse it carefully so runoff does not streak down the sidewalls.
While up there, inspect every seam around vents, skylights, air conditioners, antennas, solar mounts, and roof edges. Look for cracks, lifting, gaps, discolouration, or sealant that feels brittle. Small repairs done promptly are far more manageable than tracing a ceiling stain after water has travelled through insulation and wall cavities.
Inspect seals after weather swings
Calgary weather can change quickly, and repeated expansion and contraction puts stress on caulking and rubber seals. After a major temperature swing, heavy rainfall, hail, or a long road trip, walk around the RV with a close eye on the roofline, windows, storage doors, marker lights, sidewall joints, and slide-outs.
Do not apply new sealant over dirty, wet, or failing material simply to cover the issue. Old sealant may need to be removed or properly prepared first, depending on the product and location. If you are unsure whether a seam needs resealing, professional inspection is the safer call. Water damage can progress quietly long before it is visible inside.
Slide-outs deserve extra attention. Clear leaves, gravel, and twigs from the top and tracks before retracting them. Clean rubber seals gently and use only a compatible conditioner where recommended by the manufacturer. The wrong dressing can attract dust or cause rubber to swell, so more product is not always better.
Protect fiberglass, paint, and decals from oxidation
Sun exposure fades decals, dries trim, and leaves fiberglass looking chalky. The front cap is often the first area to show it because it faces constant highway exposure and direct sunlight. Washing alone will not correct established oxidation, and aggressive polishing can thin clear coat or damage graphics.
A quality wax or RV-safe paint sealant adds a sacrificial layer that makes washing easier and reduces the grip of grime. The best schedule depends on where the RV is stored, how often it travels, and whether it has a protected parking spot. An RV stored outside year-round generally needs more frequent protection than one kept under cover.
Ceramic coating can be a worthwhile option for owners who want longer-lasting surface protection and easier maintenance. It does not make an RV immune to scratches, hail, or neglect, and it still needs regular washing. But on sound, properly prepared paint or gelcoat, it can reduce staining and help preserve a cleaner finish. For older fiberglass with heavy oxidation, correction work may be needed before any protective coating is applied.
Clean windows, lights, and awnings with the right products
RV windows are often acrylic or polycarbonate rather than standard automotive glass. Avoid ammonia-based glass cleaners and rough paper towels on plastic windows, as both can contribute to hazing and fine scratches. Use a cleaner labelled safe for the window material and soft microfiber towels with light pressure.
Headlights, marker lights, and exterior cameras should also be cleaned gently. Clear lenses improve visibility and make it easier to spot cracks or moisture inside a fixture. If you find condensation in a light, inspect the housing seal before the electrical connection corrodes.
Awnings need their own routine. Extend them fully when conditions allow, brush away dry debris, then wash with a mild, compatible cleaner. Let the fabric dry completely before rolling it in. Storing a damp awning can encourage mildew and leave stubborn stains. If the awning has been exposed to high winds, check the arms, brackets, and fabric edges for stress before your next trip.
Do not ignore the undercarriage and storage bays
The visible exterior gets most of the attention, but road grit and moisture collect underneath. After travelling on wet, muddy, or gravel roads, rinse the wheel wells, steps, hitch area, stabilizers, and lower body panels. This is especially useful before storing the RV, when salt, mud, and debris might otherwise sit for months.
Open exterior storage bays periodically. Vacuum loose dirt, wipe away moisture, and inspect door seals and latches. A clean bay makes it easier to notice a leak, rodent activity, or damage to wiring and plumbing. Keep compartments dry, but avoid blocking designed drainage points.
Use a cover only when it is the right fit
An RV cover can protect against UV exposure, dust, and debris during extended storage. It can also create problems if it fits poorly, traps moisture, or rubs against sharp corners in windy conditions. A breathable, properly sized cover is essential, and the RV should be clean and completely dry before covering it.
For some owners, covered storage or a well-ventilated shelter is a better solution. If your RV stays outdoors, inspect it through the winter rather than assuming the cover has solved every issue. Snow load, wind movement, moisture, and animals can still create surprises.
A Simple Seasonal Exterior Routine
Spring is the time for a full wash, roof and seal inspection, awning cleaning, and a check for damage from storage. Before summer travel, refresh paint or gelcoat protection and inspect tires, lights, and hitch equipment. In fall, remove road grime, clear drains and slide-out channels, and address any caulking concerns before freezing temperatures arrive.
Before winter storage, wash and dry the RV thoroughly, empty exterior compartments of food or scented products, and inspect every accessible seal. If your schedule is packed, mobile RV exterior detailing can take that workload off your driveway. Elegance Motor Calgary LTD brings professional cleaning and surface-care support to your home or workplace, so protecting a large RV does not require a separate trip across the city.
The best time to inspect a seam, wash away road film, or protect fading fiberglass is before the next trip puts more strain on it. A few focused hours of exterior care now can help your RV arrive at the next campsite looking better and needing less from your repair budget.


Comments